How to sign up for Google Workspace
We are going to go over how to sign up for for Google workspace for Cloudflare and for Namecheap. Step by step , no step skipped.
Here we go.
Go to https://workspace.google.com/
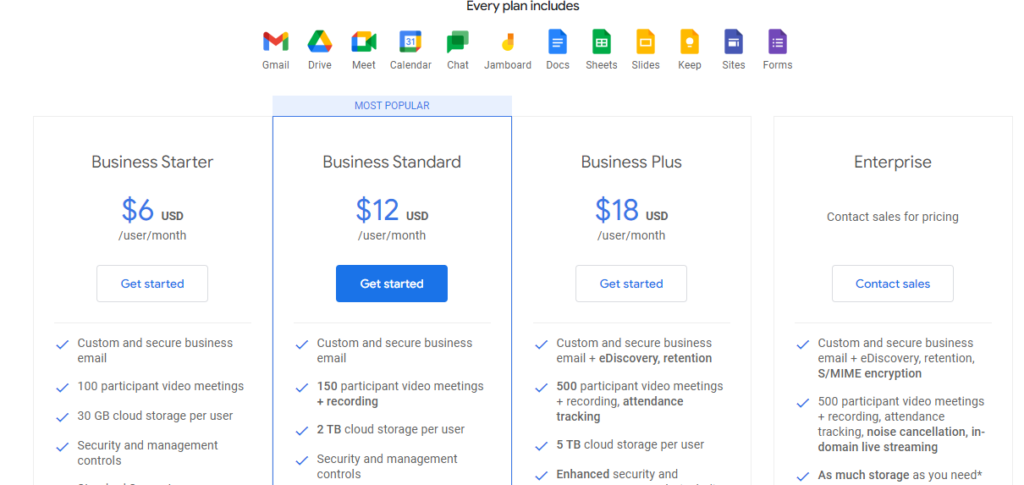
choose any plan, In this case, chose the business starter
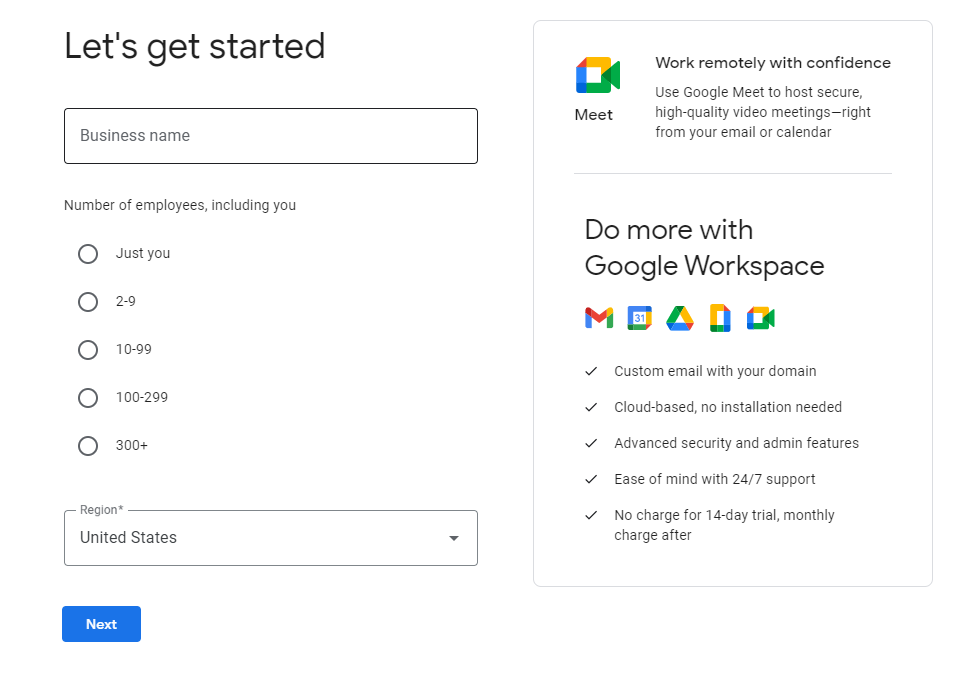
Let’s get started, Click on the number of users you want, In this case chose just you
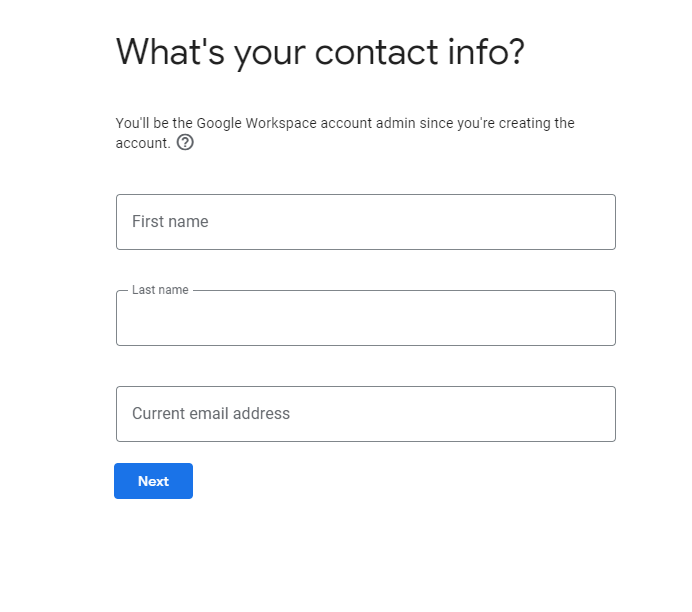
Enter your contact info such as your name and any active current email address, you can change or update this info later.
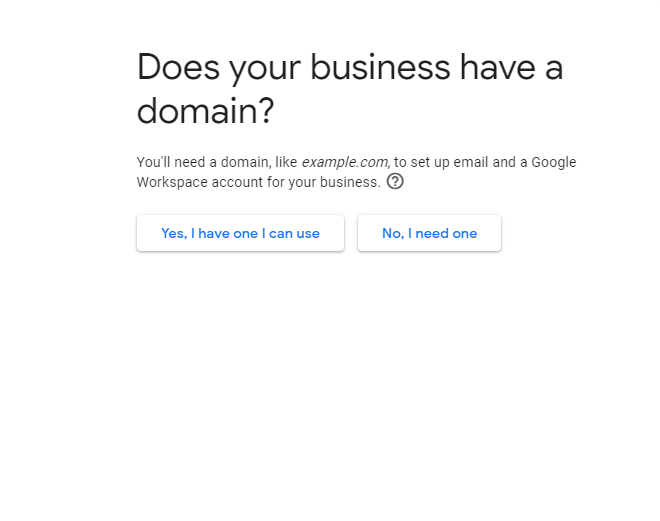
Choose a domain that you already own or create a business domain if you don’t have one. In this case we already have a domain so we chose ” yes, I have one I can use“
Enter the domain name that you already own, example yourdomainname.com
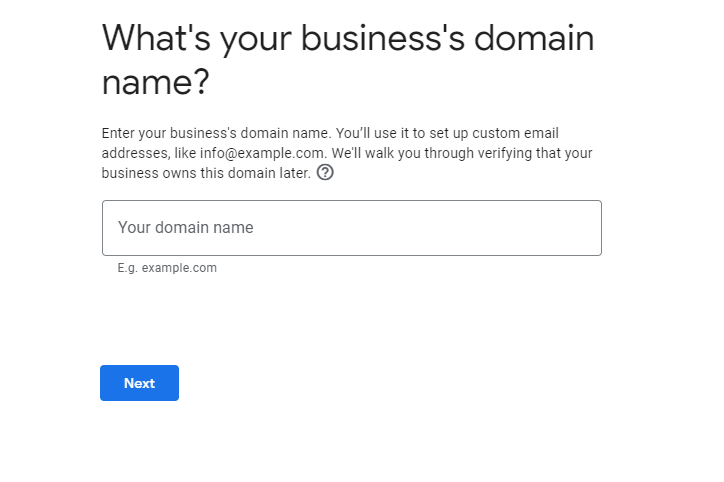
Click Next, Make sure your it has yourdomain.com, in this example it has our domain name as shown in the picture or if you want to buy a domain just click “I want to buy a new domain instead”
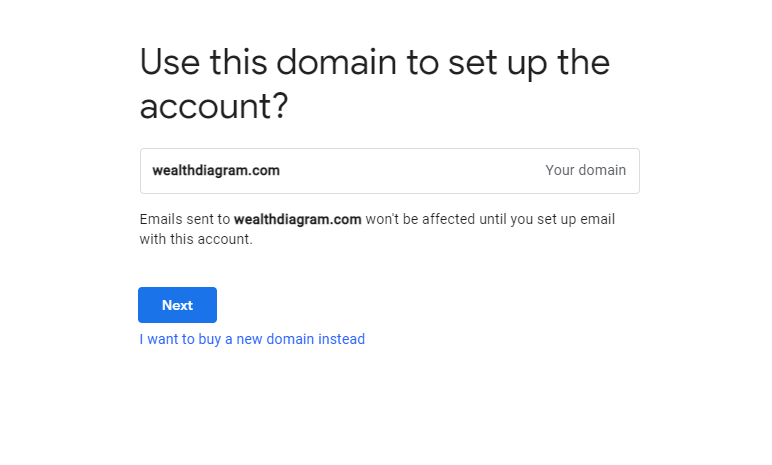
This is like a newsletter, that’s up to you to decided to click yes or no, we usually click no to things like this and in the future opt in if we need to.
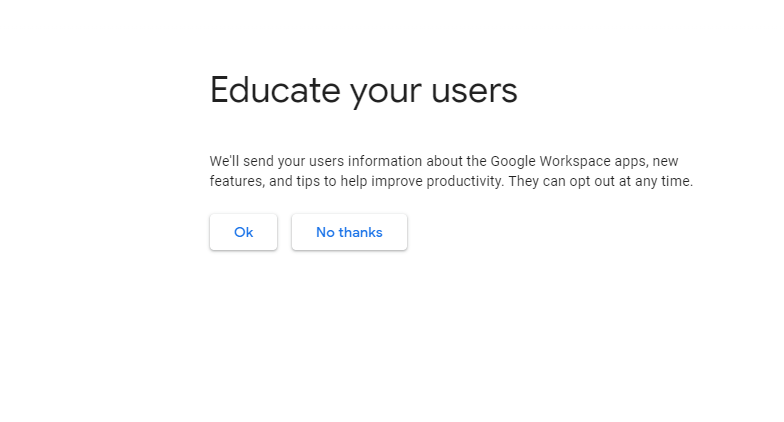
Pick the username you want and password, this will be your admin user name you can change it later on. Example [email protected], This email you never give it to anyone. Later on you can create different alias such as [email protected] or [email protected] , click on “I’m not a robot” captcha , Click agree and continue.
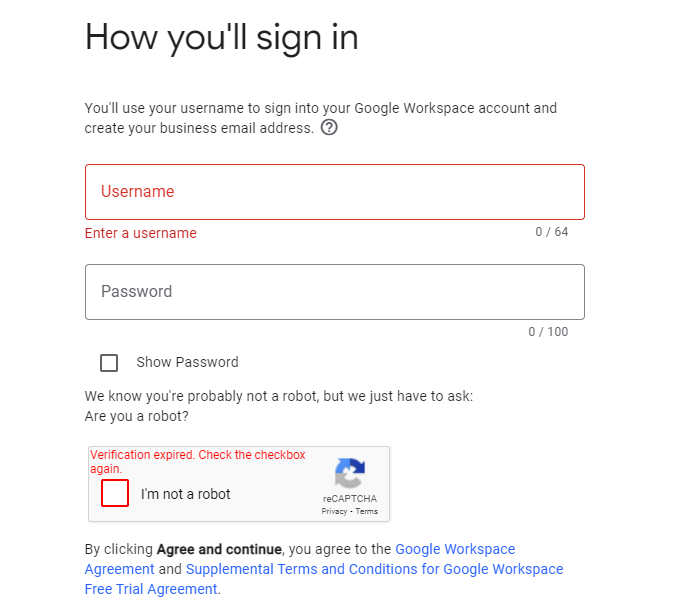
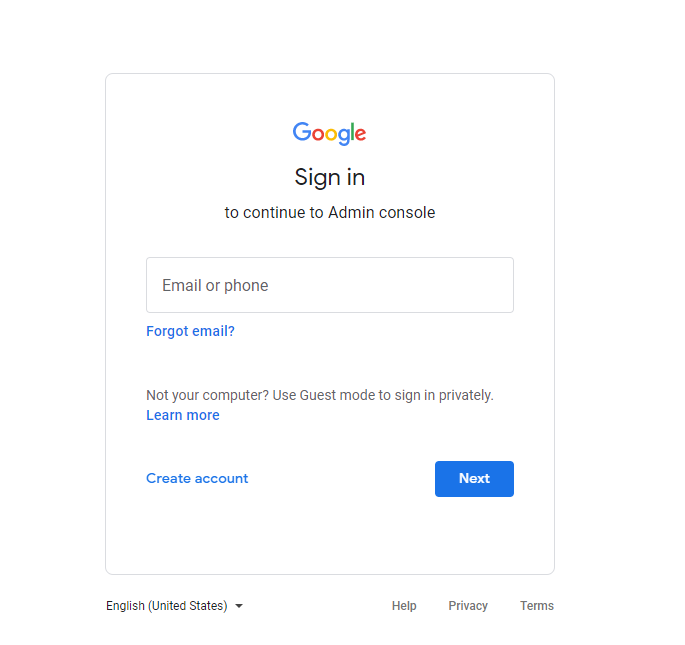
Sign in with the email and password that you created and Click next
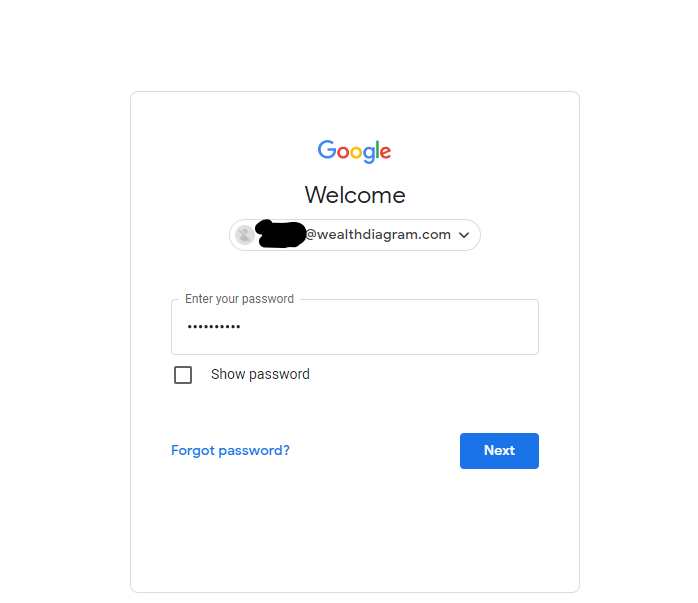
Put your password and click next
For some unknown reason this might show you, enter a phone number to verify that you are a real person, click get code, you will receive a 6 digit code to your phone , enter that code on the next window
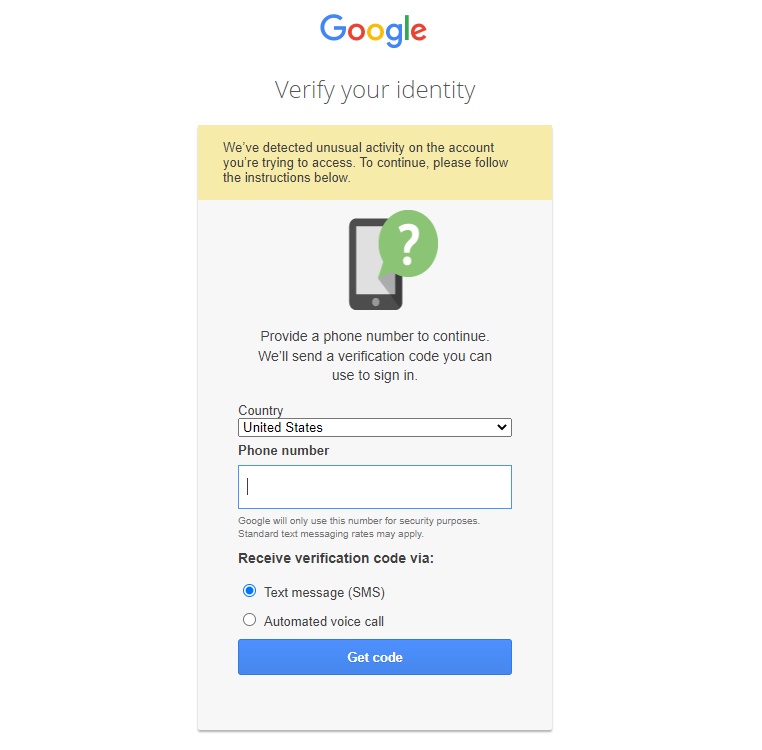
Enter that code on the window that show up
The code is usually G-(6 digit code),
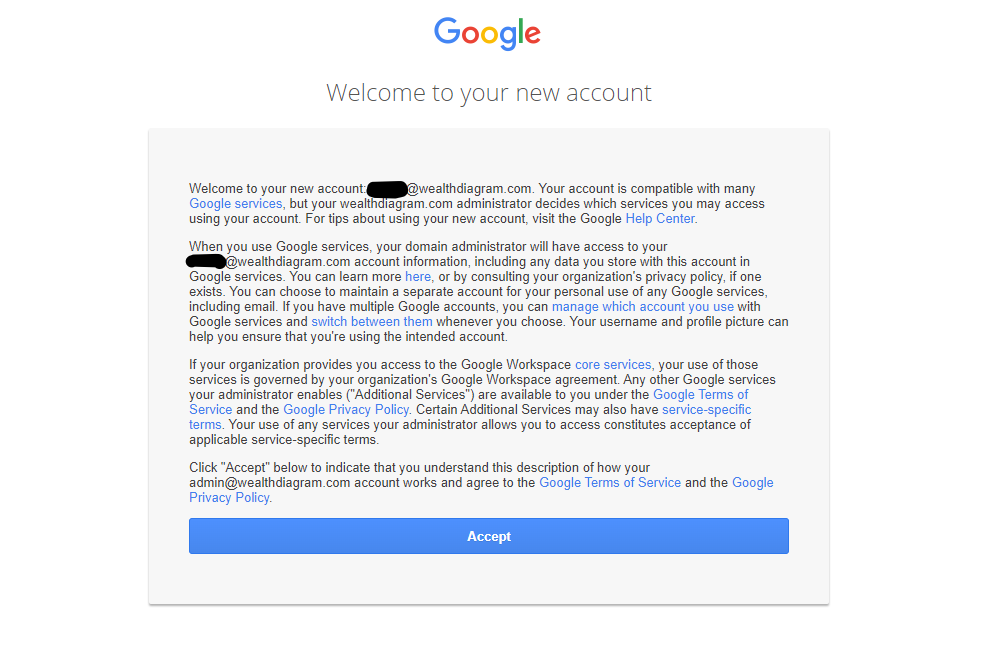
Welcome to your new account, Click accept
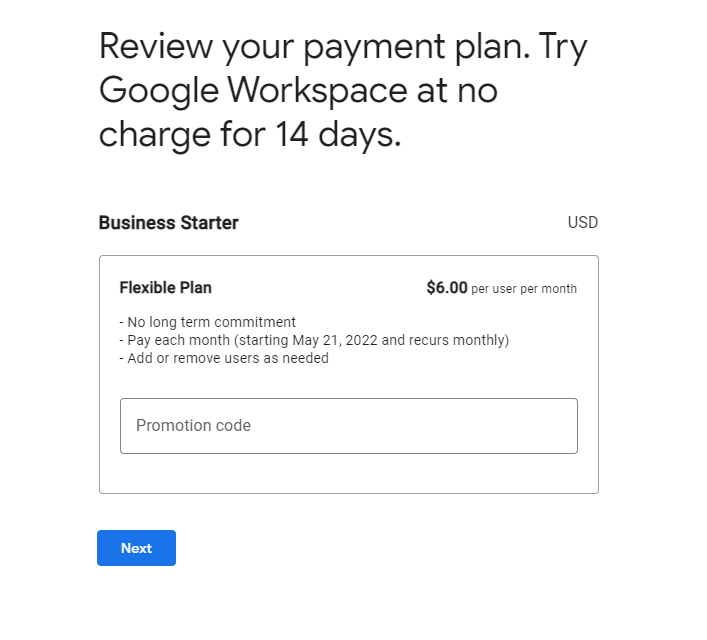
Review your payment plan, try google workplace for 14 days free trial, add a promotion code if you have one otherwise just click next
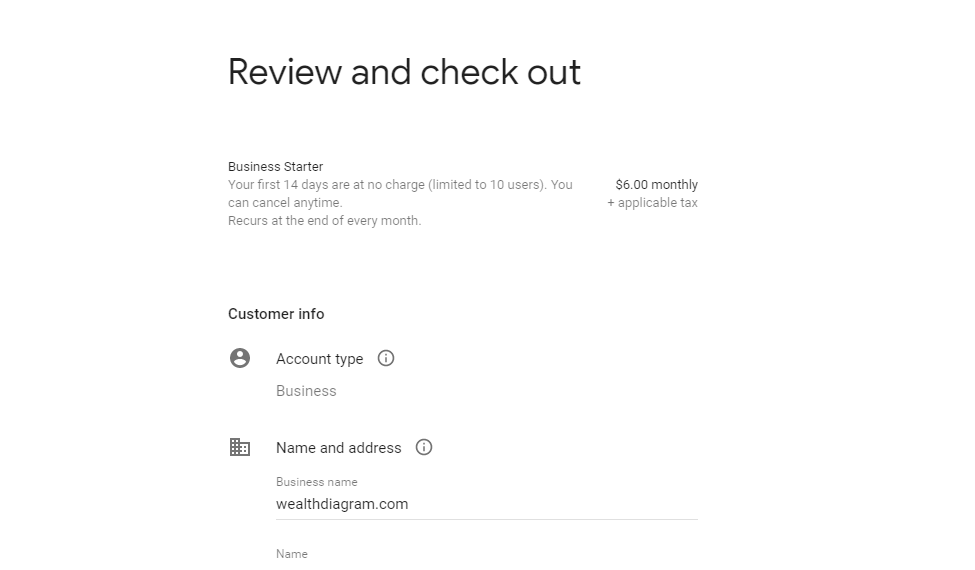
Enter your business name, personal info, address, payment method such as credit card, PayPal, Bank account, etc. We’ll use PayPal Payment method for this example, when done click on “agree and continue”
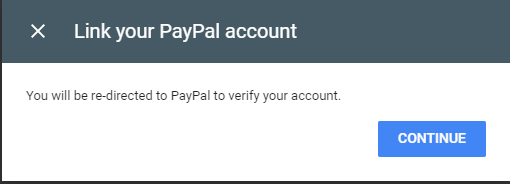
If you choose PayPal Method, click “continue”
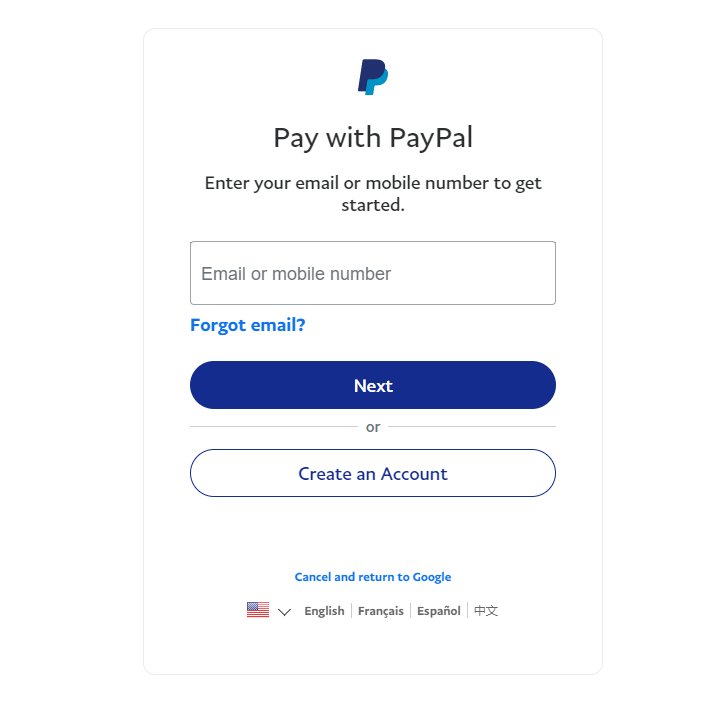
Enter your PayPal info and click next
Click on “Agree and continue”
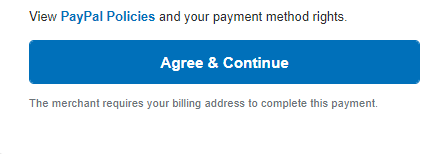
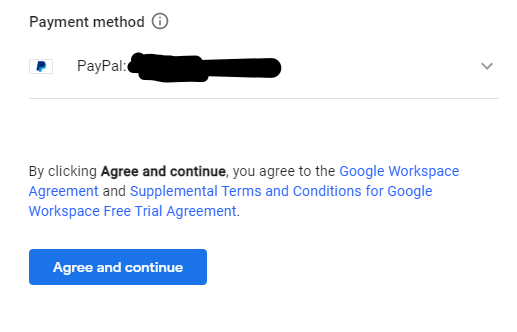
At this point we are back on Google workspace payment check out, Your PayPal method show up now, “click Agree and continue” to finish setting up billing
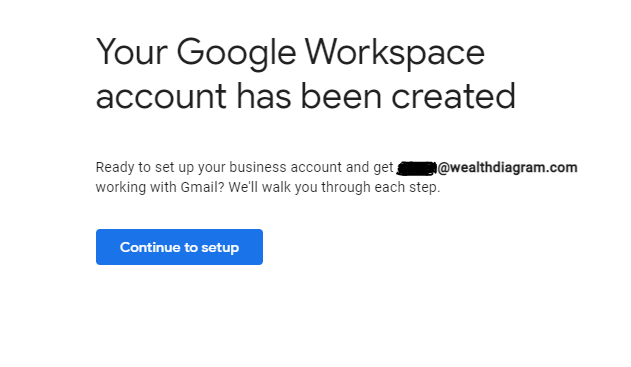
Google workspace account has been created, Click “continue to setup”
Welcome to the admin console, Click Next
Either Click next to see what to expect from setup. If you click next there will four pop ups. (Pop up 1/4) or Click x to close this Pop up, either way in a moment we are going to verify that we own the domain
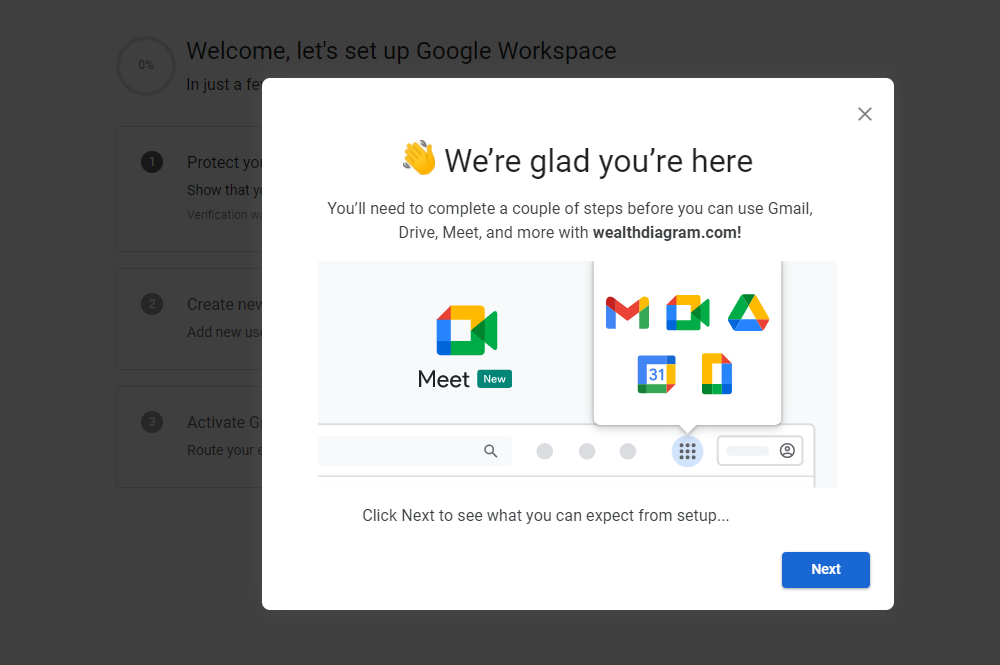
If you do not close the pop up and click next This is going to show 1/4 pop up
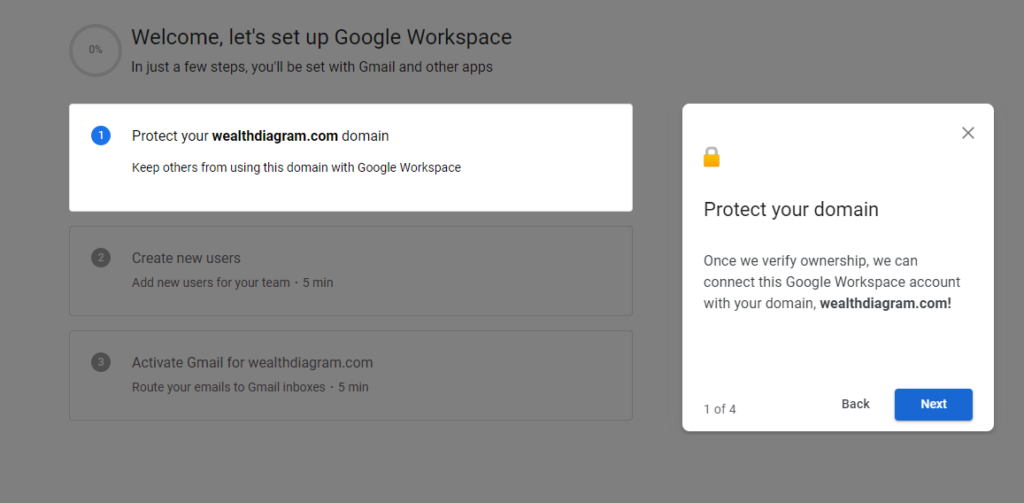
2/4 pop up
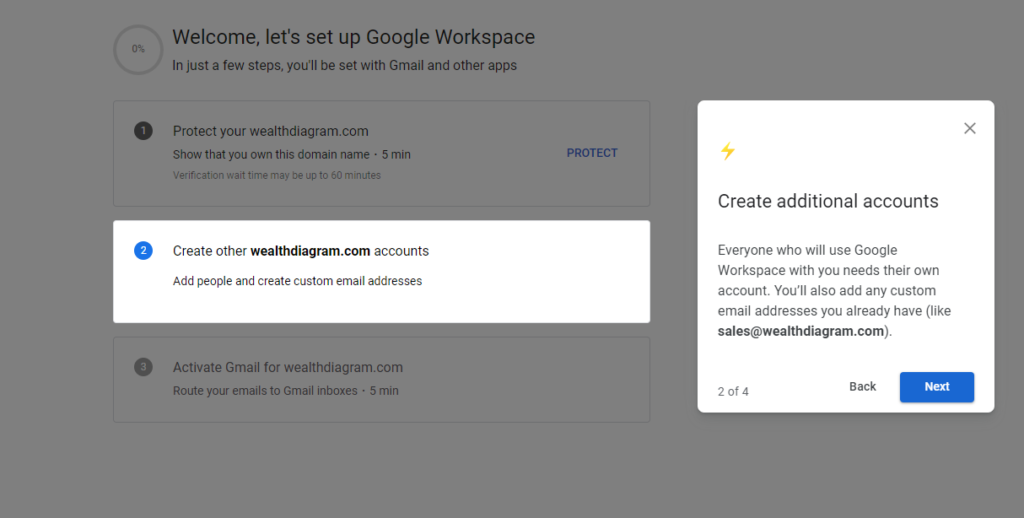
3/4 pop up
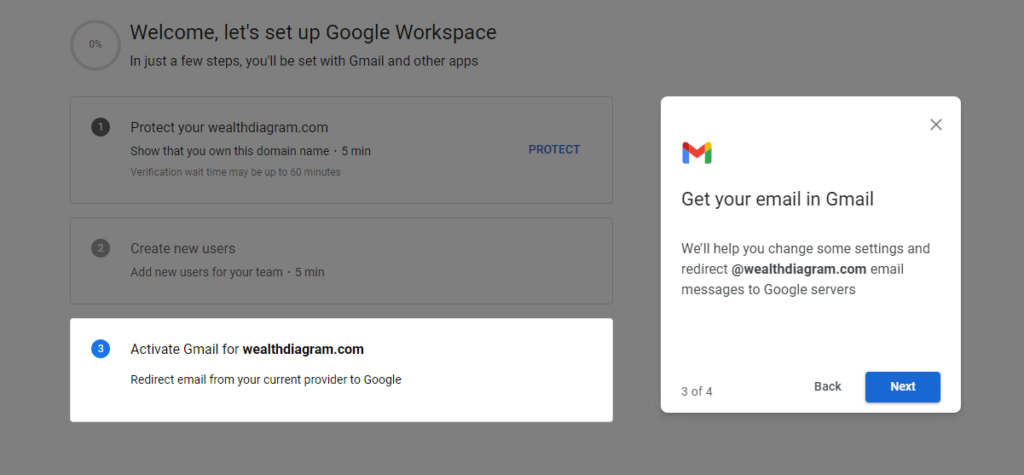
4/4 pop up
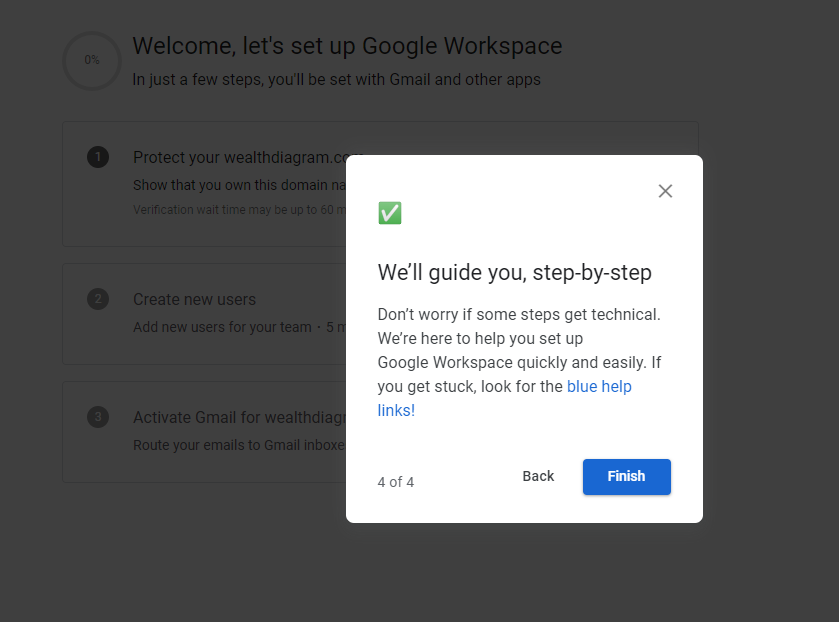
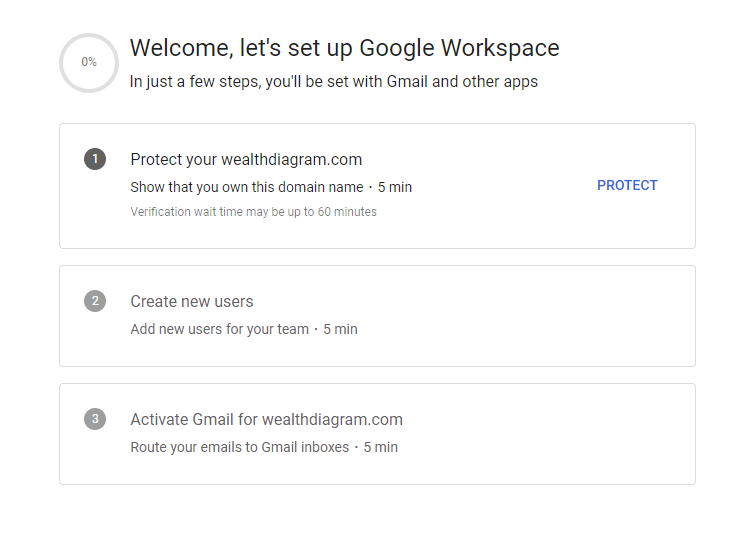
If you had closed the pop up or you went through and finished it then now is time to verify your domain, Click on Protect
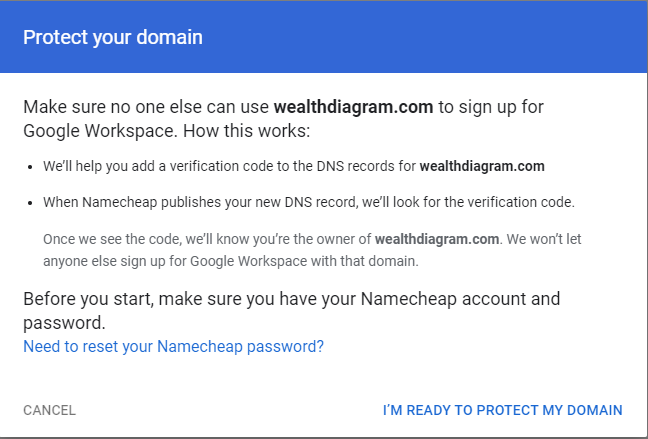
This will show up, You’ll need access to Your DNS, It could be with your Domain register or it could be wherever your DNS is at, it Could be at CloudFlare or Namecheap. When ready click on “I’M ready to protect my Domain“
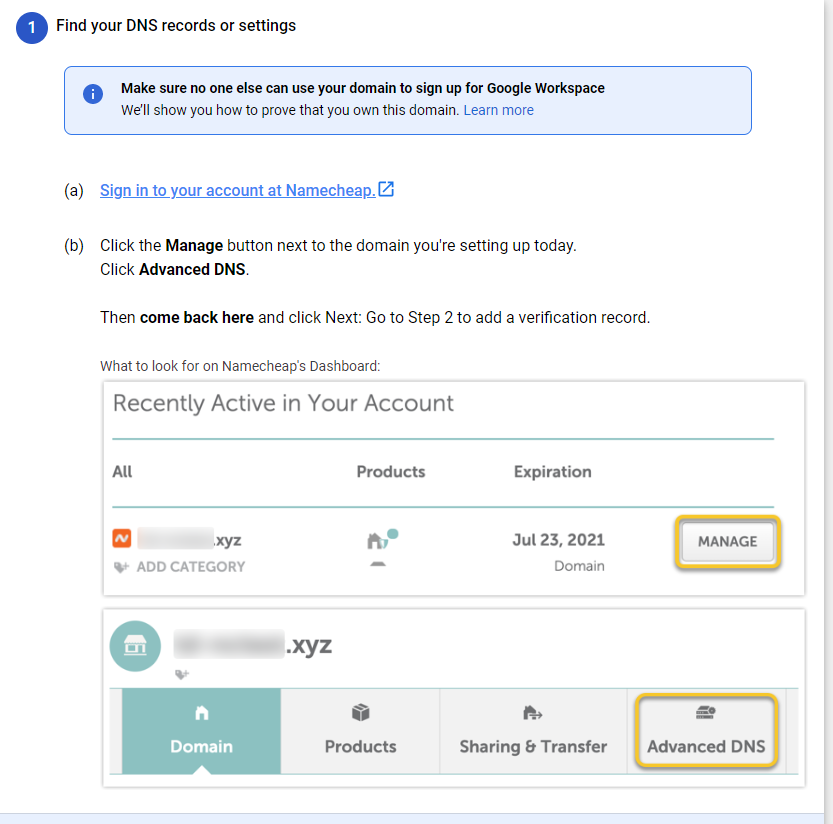
Go To your DNS service provider, I’ll give two examples one for Namecheap and another for Cloudflare
Namecheap
For Namecheap DNS
Login into Namecheap, Click manage , then Advance DNS
Add a record

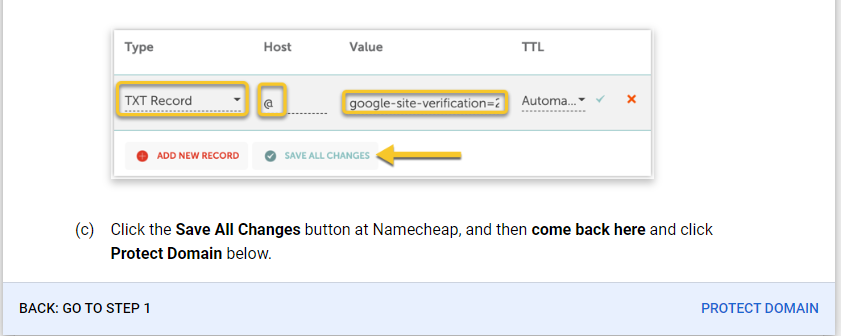
Fill out the form with TXT record, type @ and copy the google content code we put a blue line to show where to find it in the picture and click on Save all changes

Click on Protect domain.
wait for google to verify your domain , it could take 5 minutes.

Great job your domain is protected
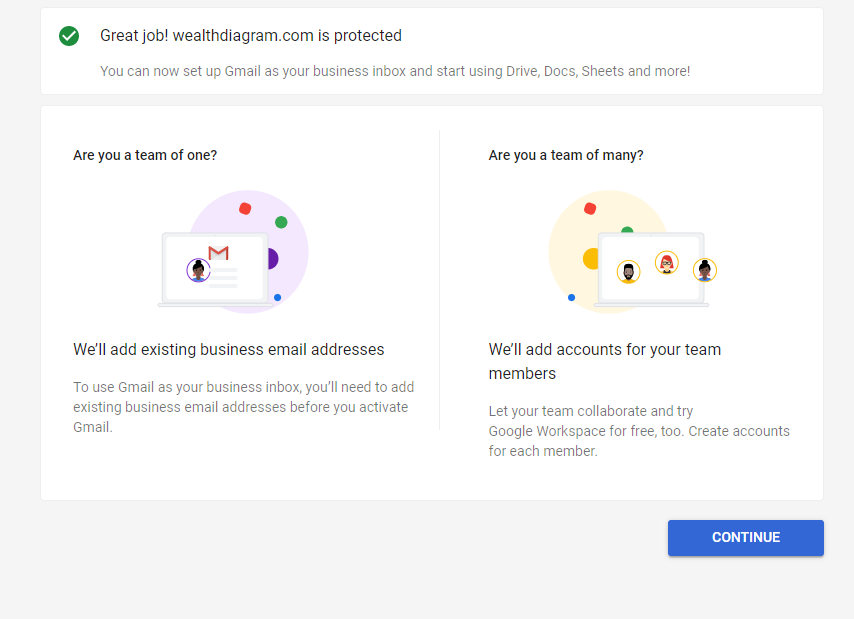
You are done verifying your domain
Cloudflare
Log into cloudflare and go to your DNS
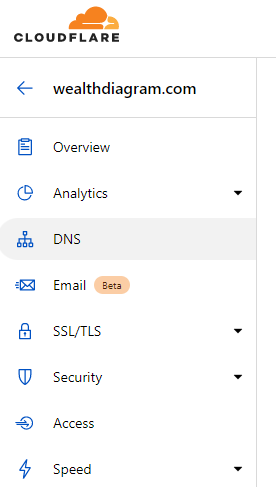
If its For cloudflare DNS, Create a TXT record, name @ and on content paste the google verification text and click save
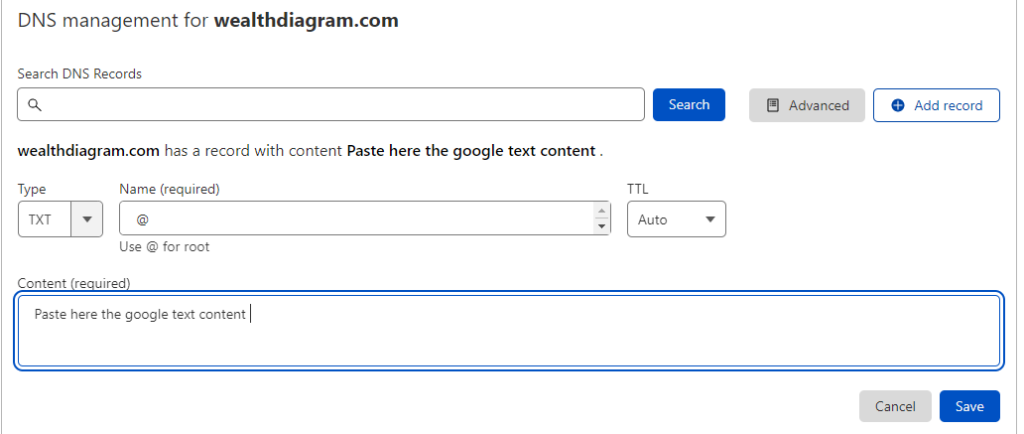
When done adding the txt record to your DNS click on protect domain, the reason that is showing up this way is because we have the Domain register with Namecheap but Our DNS is with Cloudflare.
Google is going to start the verification process it could take 5 minutes

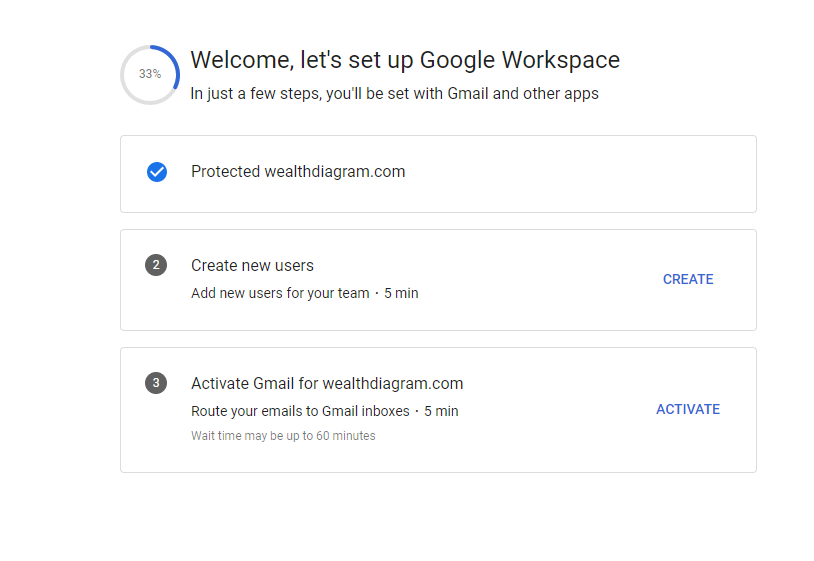
Great job your domain is protected, click on continue

You are done verifying your domain

Activate Gmail for your domain, meaning your domain email box, Click on activate

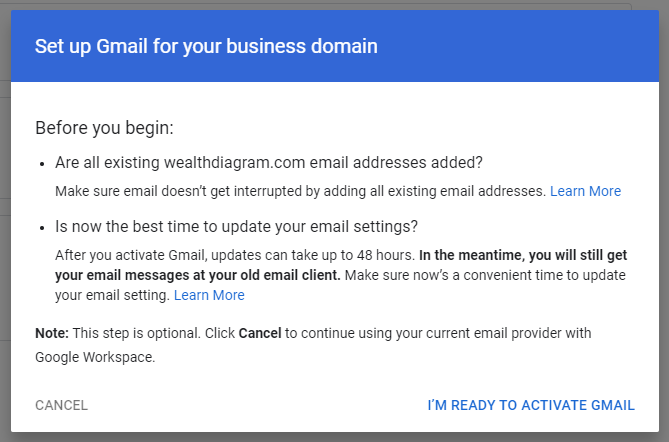
Set up Gmail for your business Domain pop up, click ” I’m Ready to activate Gmail”
Just as before GO back to your DNS for namecheap or cloudflare we are going to add some MX records to your DNS
Namecheap
for name cheap
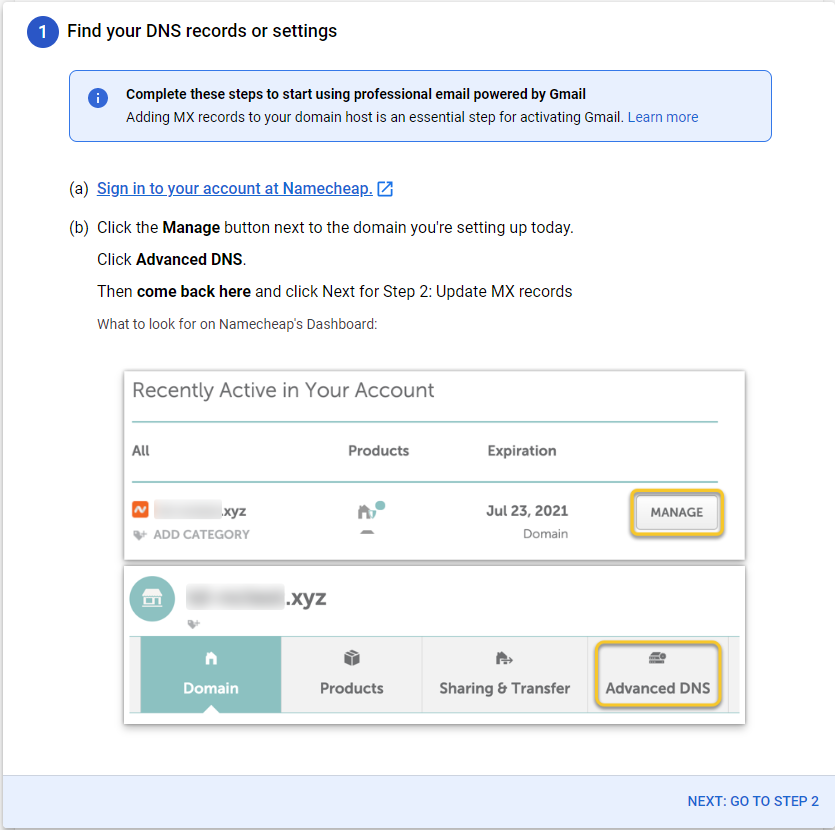
Go to step 2
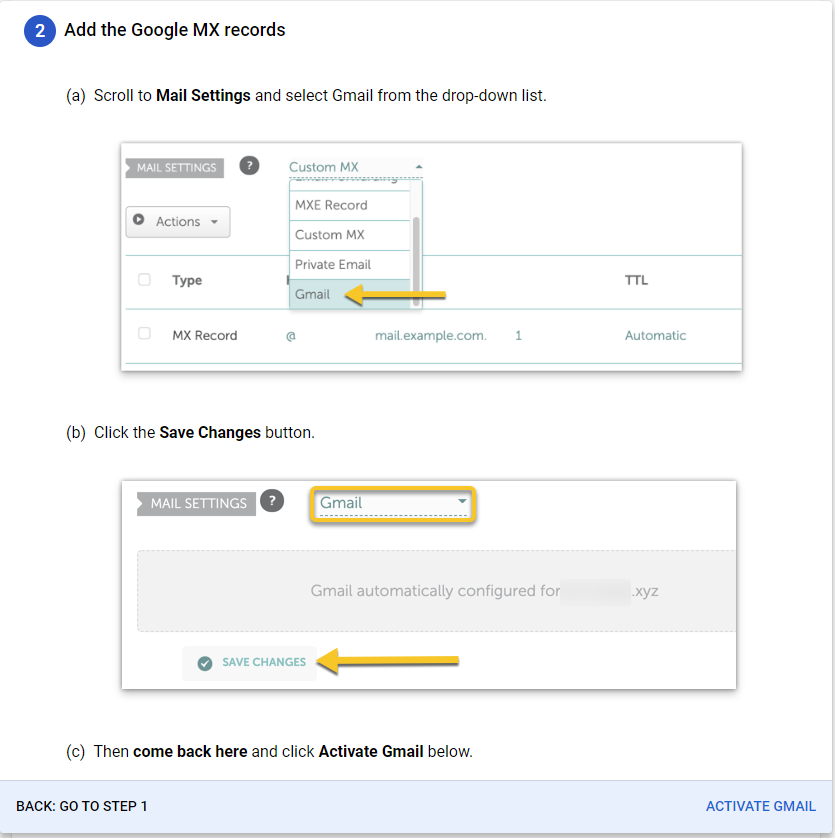
click activate , you done.
Cloudflare
Go to your DNS add This MX records, There are 5 of them
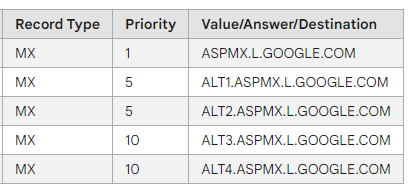
example 1
Add Type MX, name @, Mail server ASPMX.L.GOOGLE.COM, priority 1, and click save. This will add one record, you need to do those 5 different records.
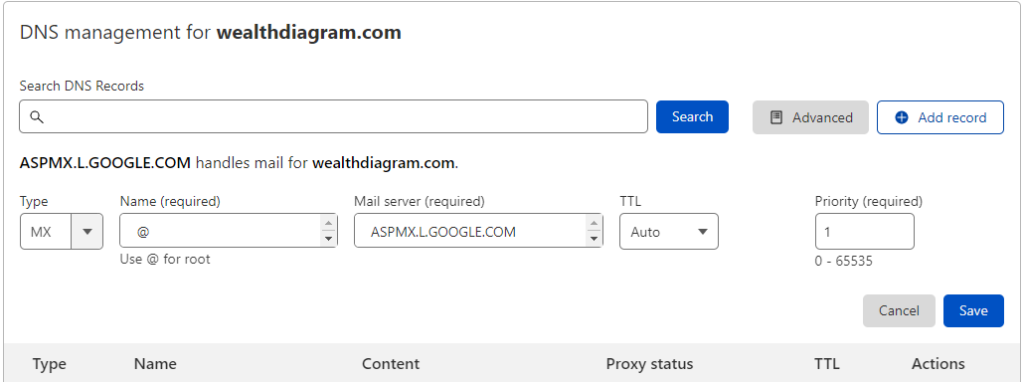
Example 2
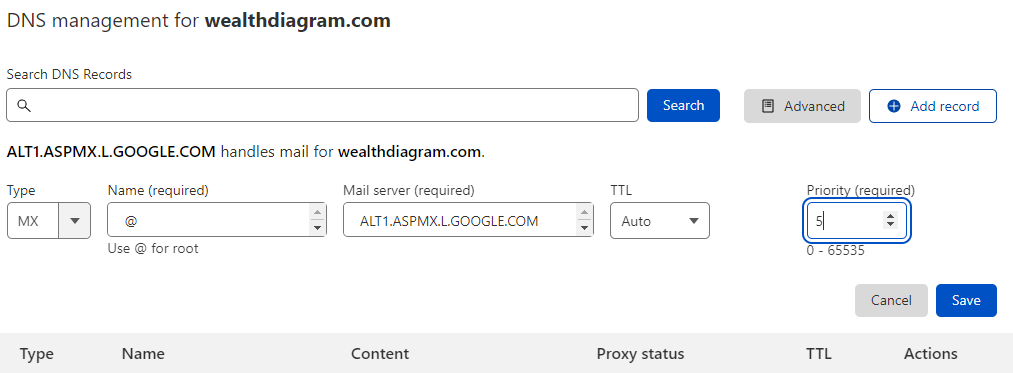
example 3
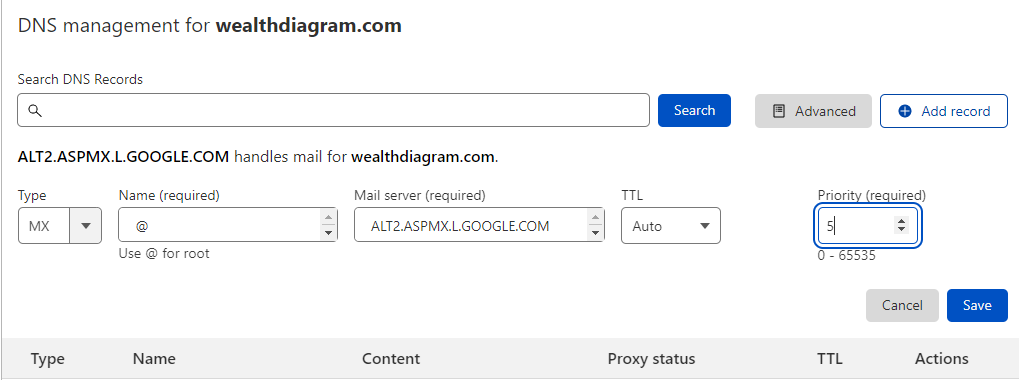
example 4
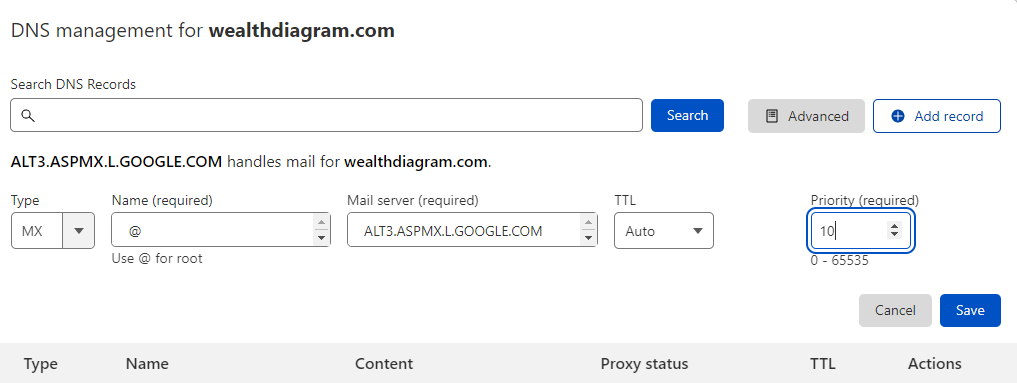
example 5
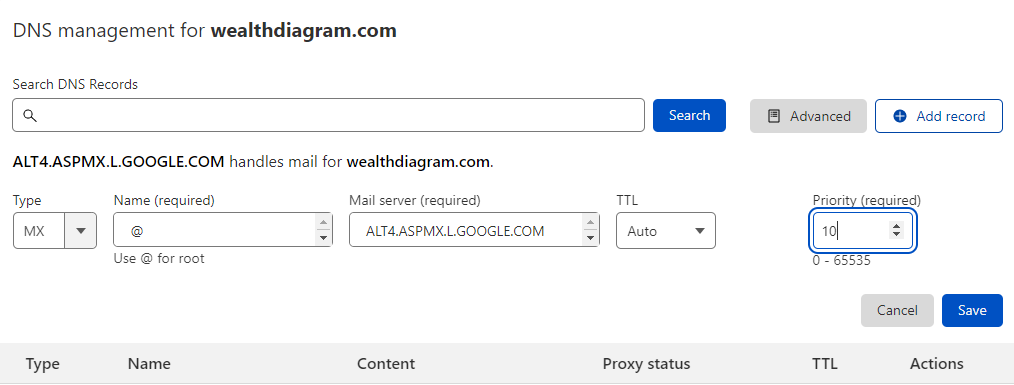
Once done adding and saving the MX record on cloudflare, go back to google workplace and click Activate Gmail

A pop up will show , just a wait a few seconds or minutes, it’s just verifying that the MX records are correct
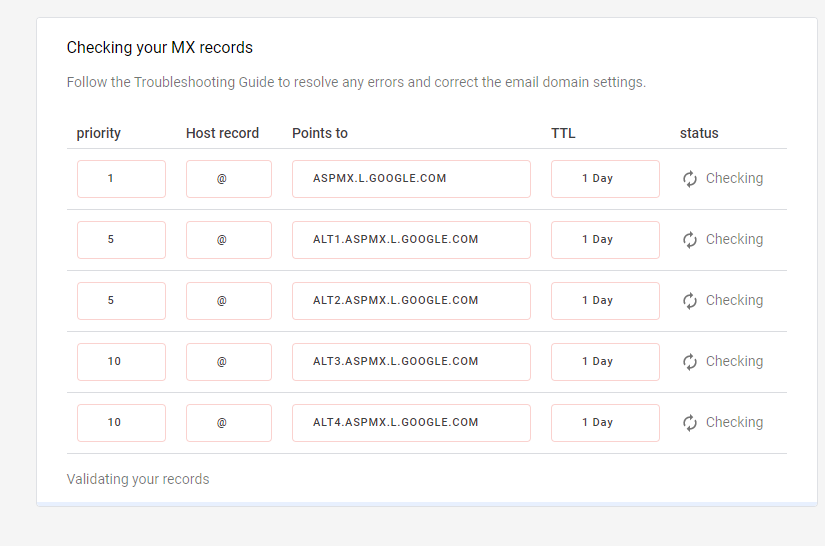
MX record updated, click finish

We are done, Click on skip for now
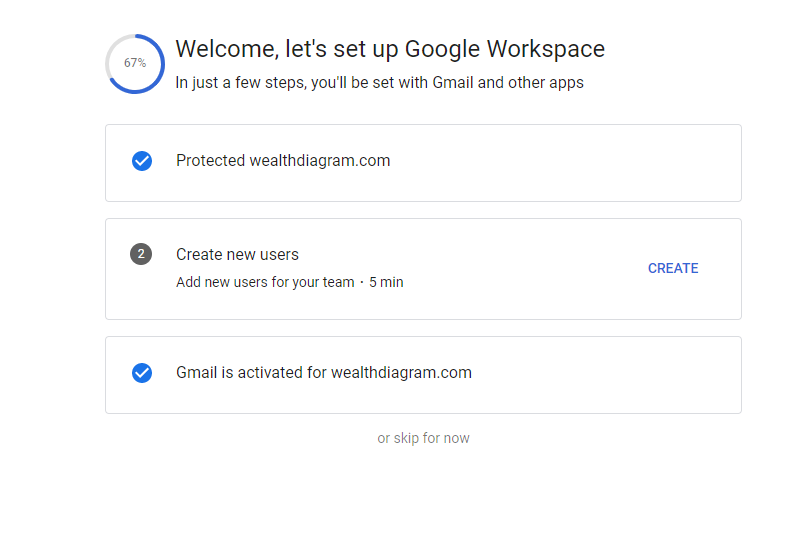
We are now ready to set up our Gmail account for
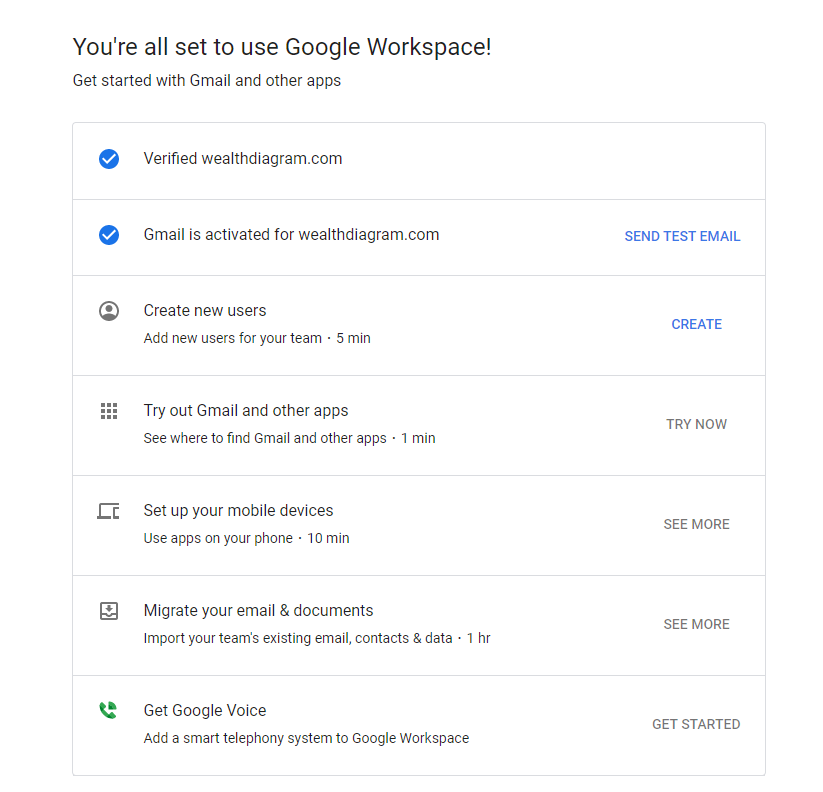
Click on Send test Email, to Send A test Email to make sure that everything is working find
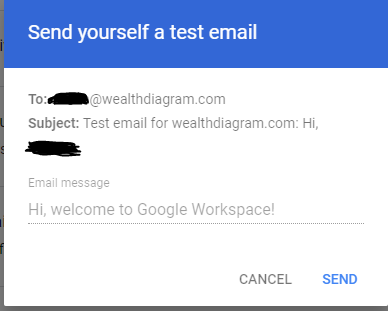
Check [email protected] , should have received an email.
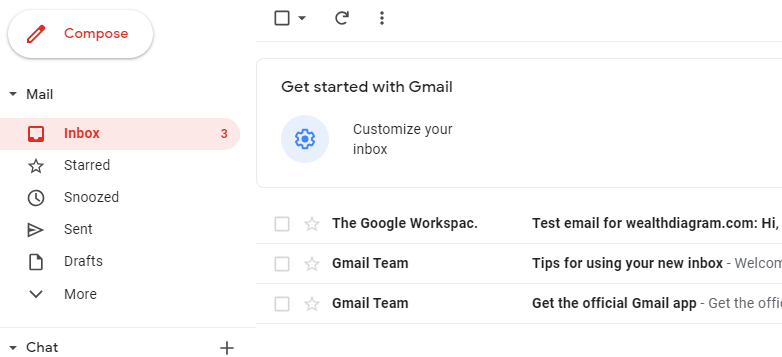
You are done
If you want you can now add two step verification for security to protect your account or you can add new users, or you can add new alias such as [email protected]
If you are interested on How to create a Gmail alias in google Workspace click Here


