How to add a read meter to your WordPress blog website and a reading progress bar time to keep your readers glued to your content
In today’s blog tutorial, we are going to show you how to add a read meter to your WordPress blog website and a reading progress bar time to keep your readers glued to your content
–> Update! : This plugin broke my site, use at your own peril<–
This plugin changed the way that my theme looks like, it rearrange the distance between the post and sidebar, I could have live with that but then started giving a WordPress error Skip to content, which shows all your menu and content as links.
Deactivating the plugin fixed the WordPress error skip to content but it did not fixed the distance between the post and sidebar.
If you wish to use the plugin anyway, continue reading
Example
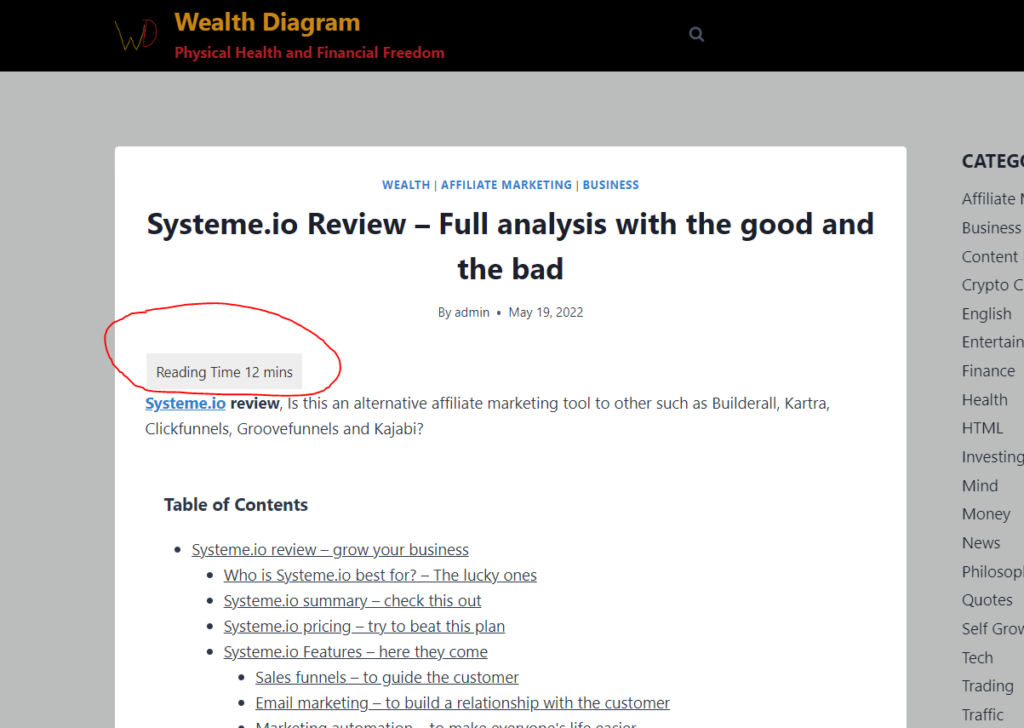
Example

We are going to be using a WordPress plugin called Read meter
Step : 1
Login into your WordPress Dashboard
Step : 2
Click on Plugins

Step : 3
Click on Add New

Step : 4
In the Search bar type Read meter

Step : 5
Click on Install now and activate

Step : 6
Go to Settings > read meter
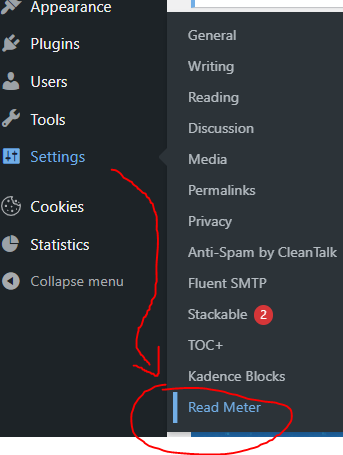
Step : 7
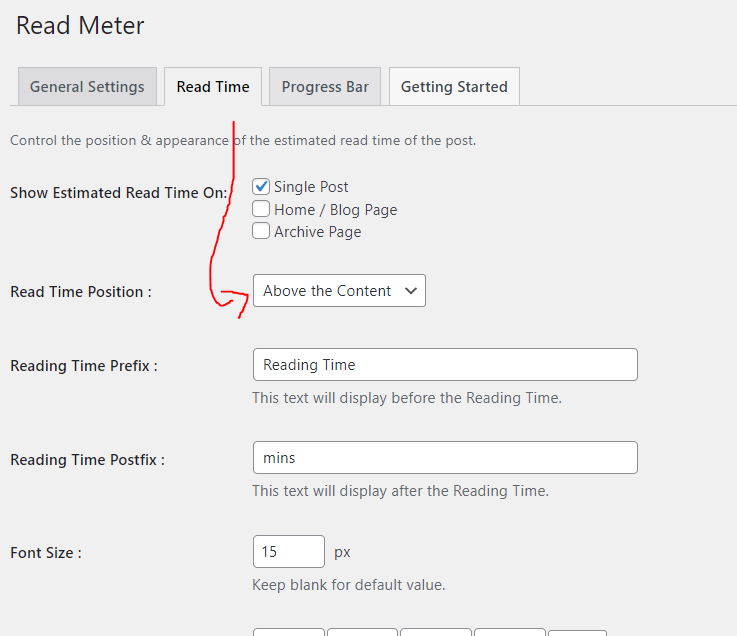
Click on the tab Read Time and choose where you want the read time to appear. We choose Above the content
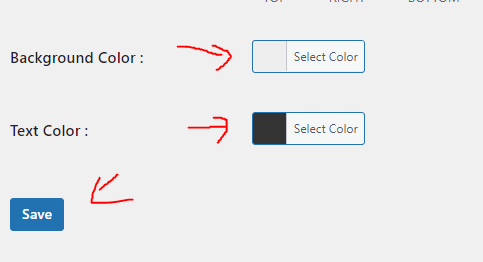
Choose The Colors you want and click Save
Example of read meter

Step : 8
In Read meter , go to the tab Progress Bar and Choose where you want the bar to be display , we choose Bottom of the page, choose colors and click Save, If you change the styles it add extra color
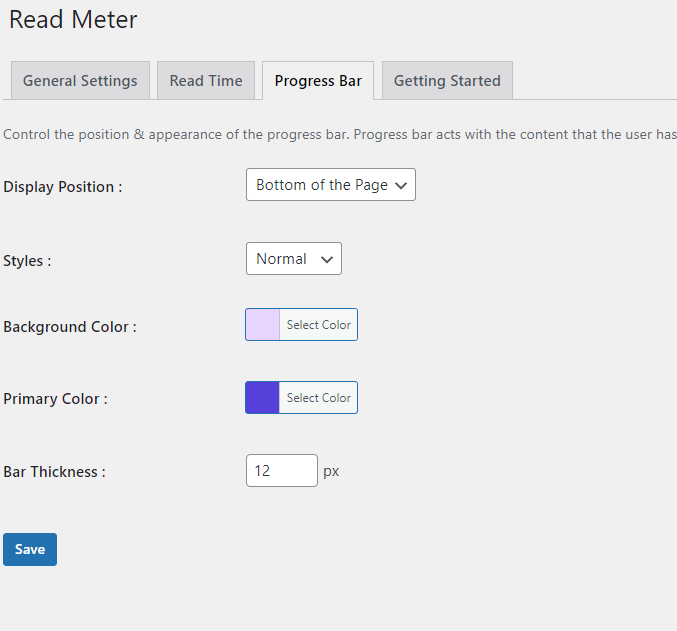
Example of Progress bar

That’s it.
